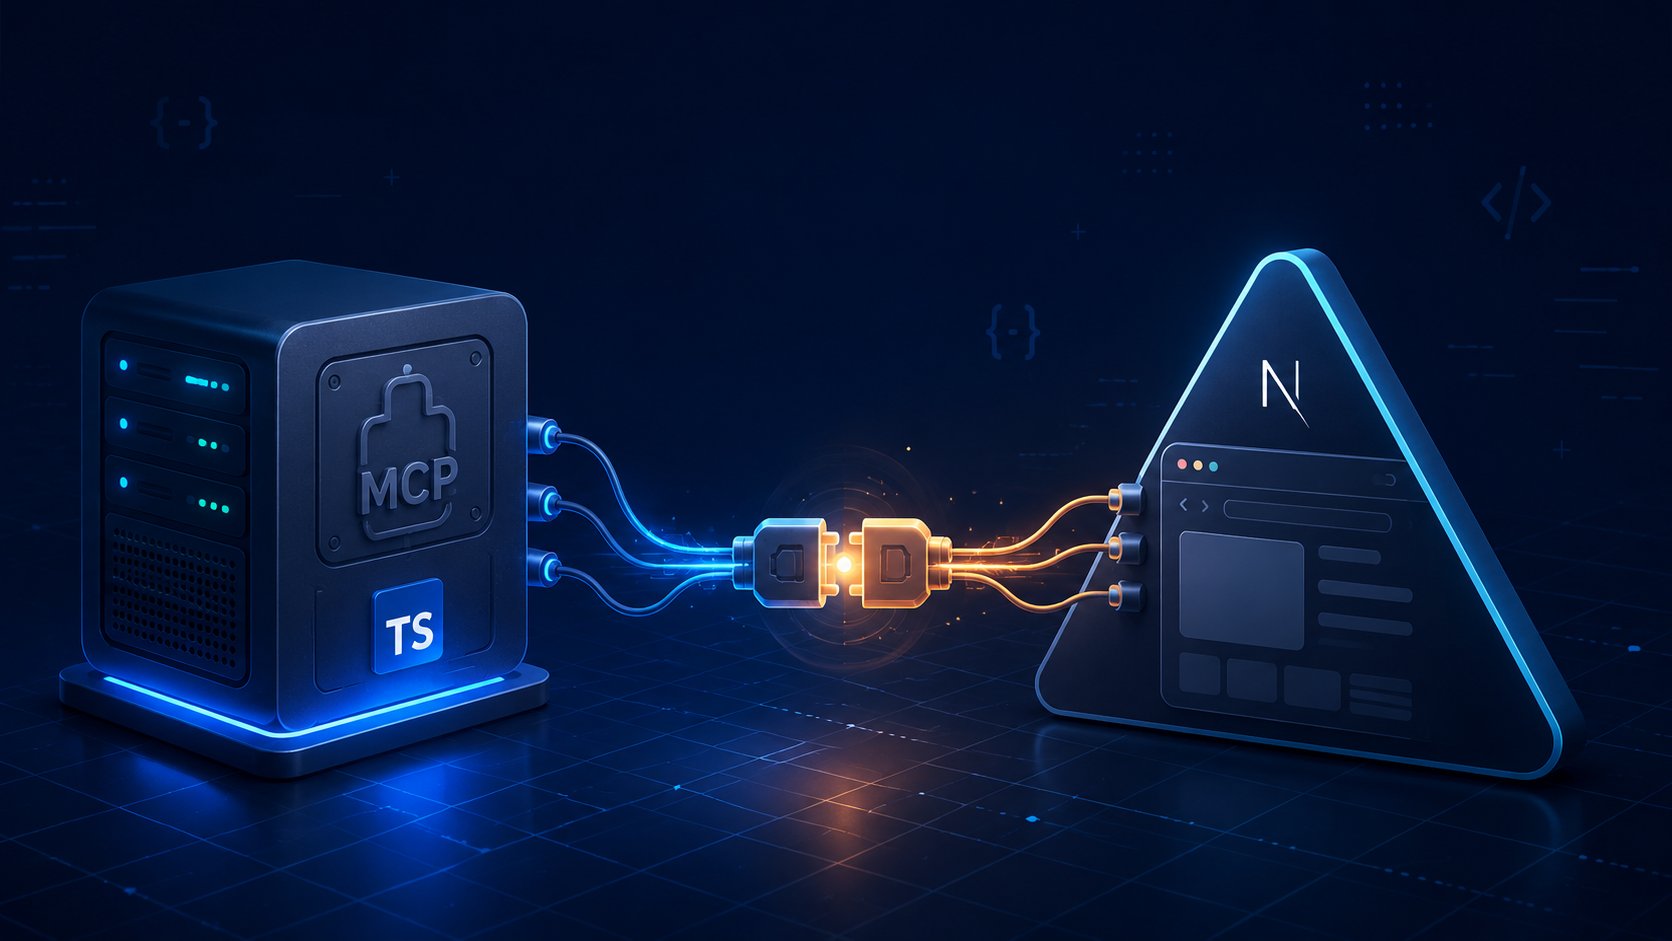
I Built a Production MCP Server in TypeScript and Wired It Into Next.js. Here's the Honest Version.
The first time an AI client called a tool on my own server, I watched it happen in my terminal like it was something slightly illegal. I had a Next.js app with a posts API. I wired up a small MCP server, pointed Claude at the URL, and typed "find my recent posts about AI agents." Claude paused for a second, then silently called search_posts, read the results, and wrote me a summary paragraph — using my data, from my endpoint, without me writing a single function-calling handler by hand.
That was the afternoon I decided to understand this properly.
This article is what I wish I'd had that day: a real walkthrough that doesn't stop at "it works on localhost." I'll cover the TypeScript setup, hosting the MCP server as a Next.js App Router route, and the production-grade details most tutorials skip entirely. If you've been watching the MCP ecosystem from the sidelines, this is the post to build from.
What MCP actually is (in 90 seconds)
The Model Context Protocol is an open standard for connecting AI clients to tools and data. Your MCP server defines tools — typed, schema-validated functions — and any compatible client can discover and call them automatically. Claude, Cursor, Windsurf, your own app built on the Vercel AI SDK: they all speak the same protocol. You define the tool once; every client gets it for free.
The alternative is bespoke function-calling glue: one set of tool definitions for your Claude integration, a different one for your Cursor plugin, another for your internal dashboard. MCP replaces all of that with a shared, standardized surface. It's the kind of obvious-in-hindsight protocol that makes you retroactively annoyed at how much duplication the previous two years required.
Standalone server, or a route in your Next.js app?
You can run an MCP server as a standalone Node process — your own Express or Hono server, your own port, your own deploy. For greenfield tool libraries or shared internal infrastructure, that makes sense. I went a different direction: the MCP server lives as a route inside the existing Next.js application, and for most product use cases I'd make the same call again.
The reasoning is practical: one deploy, shared environment variables, your existing auth system, and your database connections already configured. The MCP server is just another API route — it scales the same way on Vercel, you don't manage a second service, and there's no separate pipeline to maintain. The one constraint worth knowing upfront: Vercel serverless functions are stateless per-invocation. That shapes a few decisions I'll explain shortly.
Building the server
Start with the SDK:
npm install @modelcontextprotocol/sdk zodCreate the server and register a tool. I'll use search_posts throughout — a realistic tool that queries a database and returns structured data:
import { McpServer } from "@modelcontextprotocol/sdk/server/mcp.js";
import { z } from "zod";

export const server = new McpServer({
  name: "my-app-tools",
  version: "1.0.0",
});

server.registerTool(
  "search_posts",
  {
    description: "Search published blog posts by keyword",
    inputSchema: {
      query: z.string().min(1).describe("Search keyword or phrase"),
      limit: z.number().int().min(1).max(20).default(5),
    },
  },
  async ({ query, limit }) => {
    const posts = await db.posts.findMany({
      where: { title: { contains: query }, status: "published" },
      take: limit,
      select: { title: true, slug: true, excerpt: true },
    });

    return {
      content: [{ type: "text", text: JSON.stringify(posts, null, 2) }],
    };
  }
);
Two things to notice. The inputSchema is plain Zod — the SDK converts it to JSON Schema automatically. And the return value wraps output in a content array — the MCP result envelope. The model reads the text field and decides what to do with it.
Wiring it into Next.js
Install Vercel's adapter:
npm install @vercel/mcp-handlerCreate a single route handler. The [transport] dynamic segment lets the adapter serve all three HTTP verbs from one file:
// app/[transport]/route.ts
import { createMcpHandler } from "@vercel/mcp-handler";
import { server } from "@/lib/mcp/server";

const handler = createMcpHandler(server);

export { handler as GET, handler as POST, handler as DELETE };
That's the entire integration. The adapter handles protocol negotiation, stateless session management, and the three transport verbs: POST for client-to-server JSON-RPC, GET to open an SSE stream for server notifications, and DELETE to end a session. The [transport] route resolves to /mcp by default — where every modern MCP client expects to connect.
The production stuff tutorials skip
Everything above works. Here's what makes it production-grade.
1. Statelessness on serverless
The MCP spec has a sessions concept — persistent connections with shared in-memory state between calls. On Vercel, there is no in-memory state that survives between cold starts. The mcp-handler adapter defaults to stateless mode: each request is fully independent, no Redis required, no session corruption between invocations. For tools that are essentially "receive request, query, return response" — which covers most real use cases — this is exactly right. Where it matters: if you need genuinely stateful multi-step workflows, externalize that state to a database or cache. Don't try to hold it in the server process.
2. Authentication
Your MCP endpoint is a public HTTP URL — anyone who knows it can call it. Wrap your handler with experimental_withMcpAuth to validate Bearer tokens before they reach your tools:
import { createMcpHandler, experimental_withMcpAuth } from "@vercel/mcp-handler";
import { server } from "@/lib/mcp/server";

const handler = experimental_withMcpAuth(
  createMcpHandler(server),
  async (req, res, { token }) => {
    if (!token) return { isValid: false };
    const user = await verifyToken(token);
    return { isValid: !!user, authInfo: { userId: user?.id } };
  }
);

export { handler as GET, handler as POST, handler as DELETE };
The authInfo object flows through as a second argument to every tool handler, so your tool code gets the authenticated user without touching global state. Authentication lives at the transport boundary — not scattered through individual tools.
3. Return errors as results, not 500s
This one cost me real debugging time. When a tool throws an uncaught exception, the client gets a transport-level error — the model stalls, the conversation stops. The right pattern is to return errors inside the result envelope so the model can reason about them:
async ({ query, limit }) => {
  try {
    const posts = await db.posts.findMany(/* ... */);
    return { content: [{ type: "text", text: JSON.stringify(posts) }] };
  } catch (err) {
    return {
      content: [{ type: "text", text: `Search failed: ${err.message}` }],
      isError: true,
    };
  }
}
When isError is set, the client receives a structured tool error instead of a transport failure. The model sees it, can try a different approach, and the conversation continues. A naked 500 just breaks the flow.
4. Zod isn't optional
A language model is filling your input schemas at runtime. It gets things approximately right most of the time, and confidently wrong the rest. Zod validation runs before your handler receives control — bad inputs (wrong types, missing required fields, out-of-range numbers) never reach your database or business logic. This is not a nice-to-have; treat it as a hard invariant.
Testing without losing your mind
The fastest feedback loop is MCP Inspector. While your dev server is running:
npx @modelcontextprotocol/inspector http://localhost:3000/mcpThis gives you a browser UI showing your registered tools, their schemas, and the ability to call them manually — with the full JSON-RPC exchange visible in real time. I run it every time I add a new tool. It catches bad schemas and broken error shapes before any real client touches the endpoint.
To test with a real client, add the server to Claude's MCP configuration:
{
  "mcpServers": {
    "my-app-tools": {
      "url": "http://localhost:3000/mcp",
      "type": "http"
    }
  }
}
The first time you ask Claude a question, watch it decide to call your tool, retrieve your actual data, and build an answer around it — that's the payoff. It doesn't feel like function calling. It feels like the model has genuine access to your system.
When you probably don't need one
MCP earns its complexity budget when the same tools need to work across multiple clients — your app, Claude, Cursor, a teammate's IDE — without duplication. That's its natural home: a shared, discoverable tool surface.
If you're building one AI feature for one app with no external clients, you almost certainly don't need MCP. Write the tool call directly, skip the protocol layer, ship in a third of the time. The overhead — discovery, negotiation, versioning — only pays off when you're serving more than one client.
The rule I follow now: start with direct tool calls inside the app. When a second client needs the same capability, extract it into an MCP server. Not before.
The ecosystem is in good shape. The TypeScript SDK is stable, mcp-handler makes the Next.js wiring trivially simple, and MCP Inspector gives you immediate, honest feedback before you ship anything. Streamable HTTP is the settled transport standard — POST, GET, DELETE over a single /mcp endpoint, everywhere. There's no good reason to wait. Build the server, register the tools you actually use, point a client at it. The first time it works, it still feels a little like magic — even when you wrote every line of it.
More writing